中文
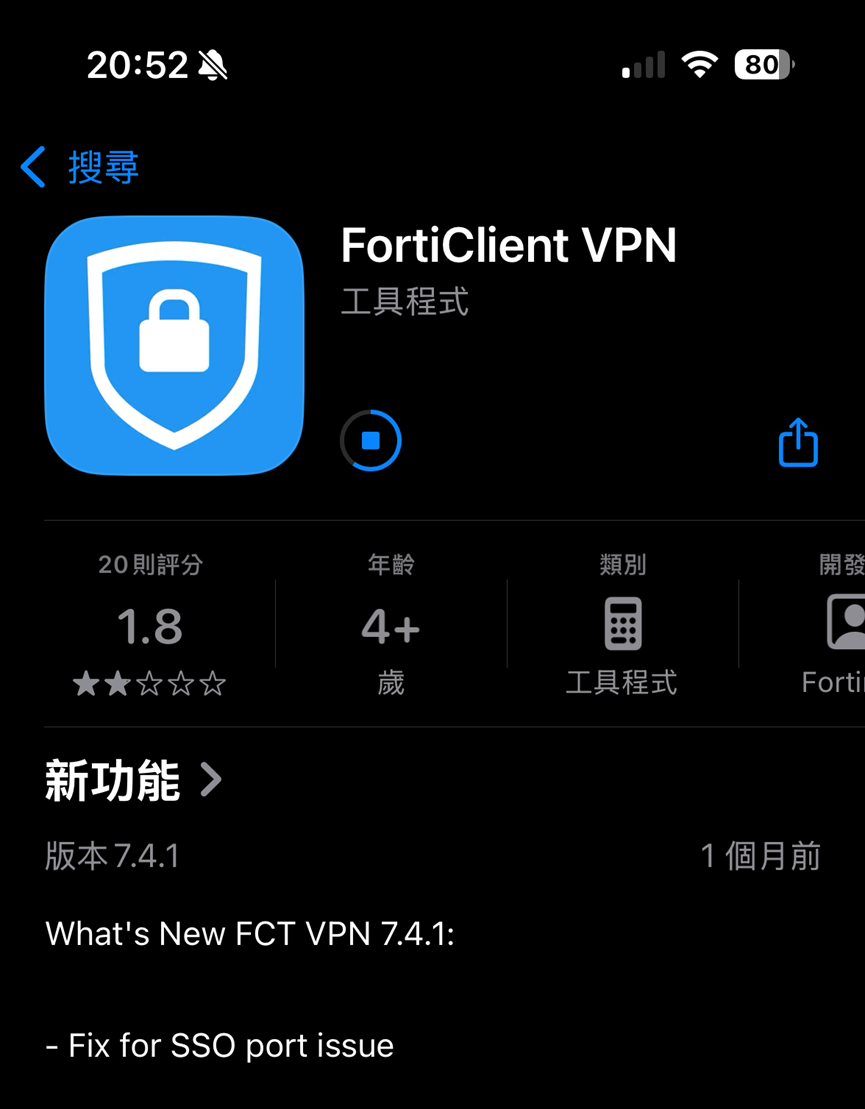
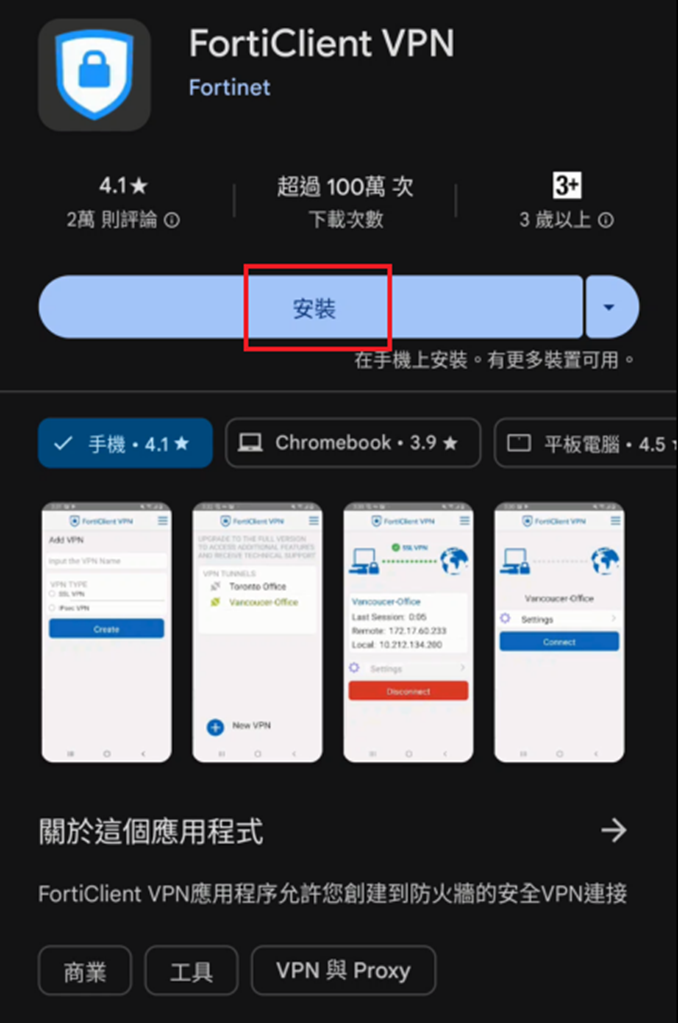
中文Install the SSL VPN client program (FortiClient VPN) if using for the first time by downloading the installation file provided.
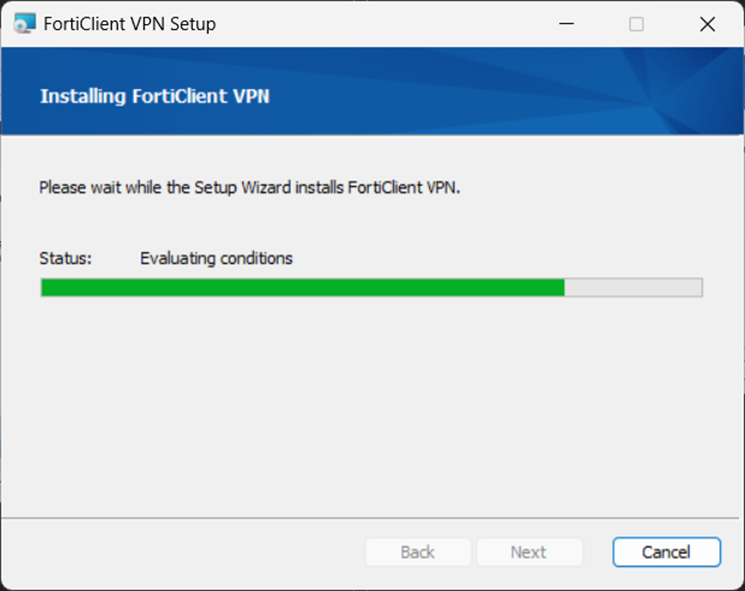
- Double-click FortiClientVPNSetup_7.2.7.1116_x64.exe to start the installation.

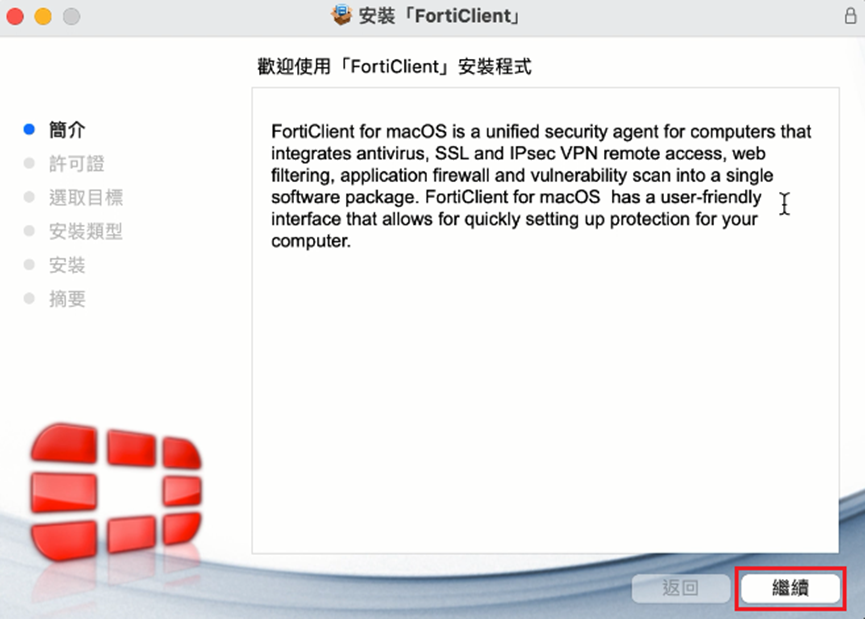
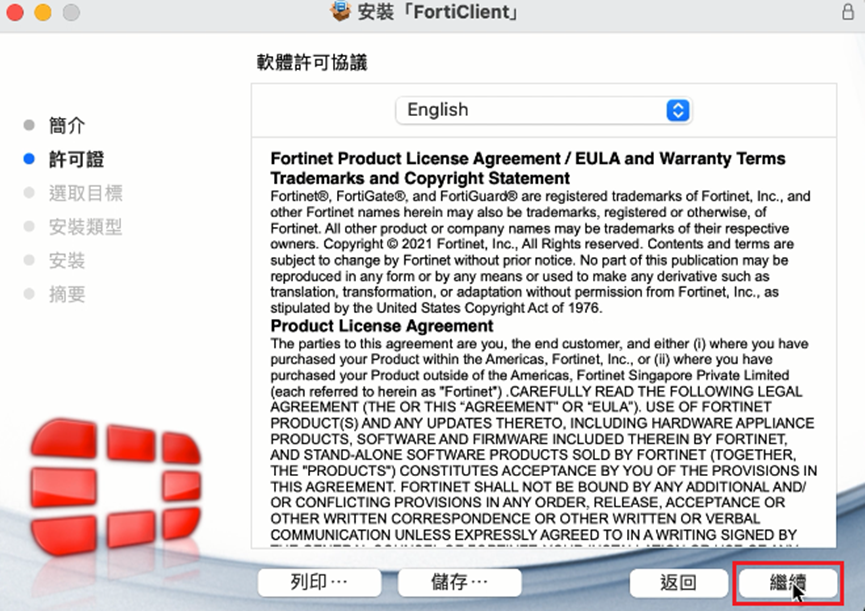
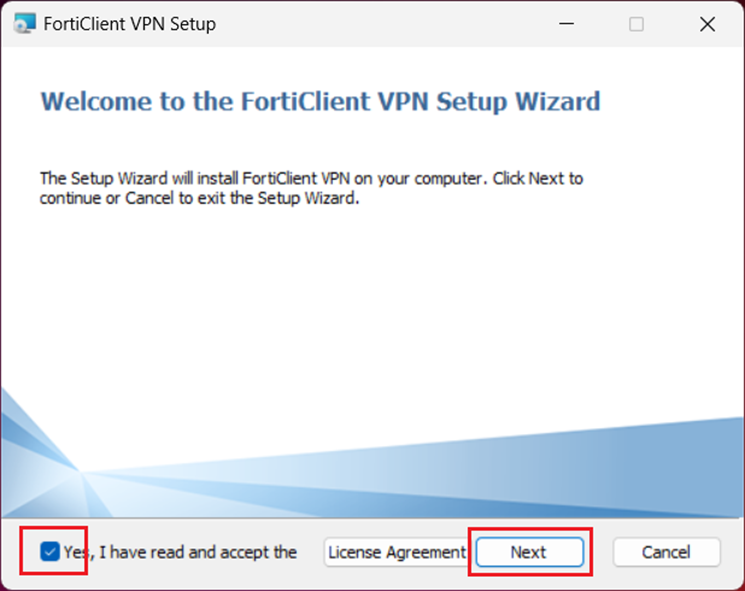
- Check "Yes, I have read and accept the terms," then click "[ Next ]."
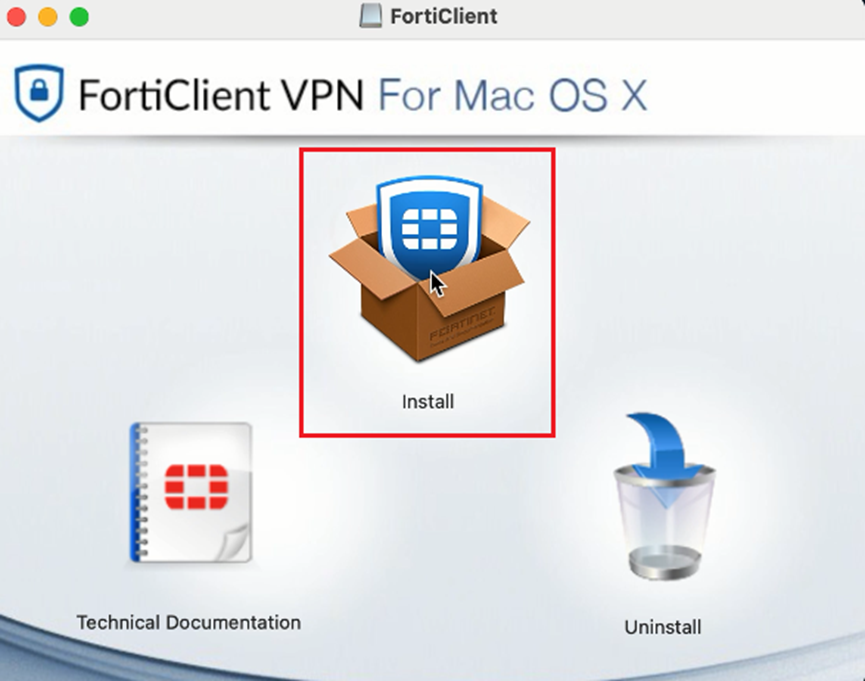
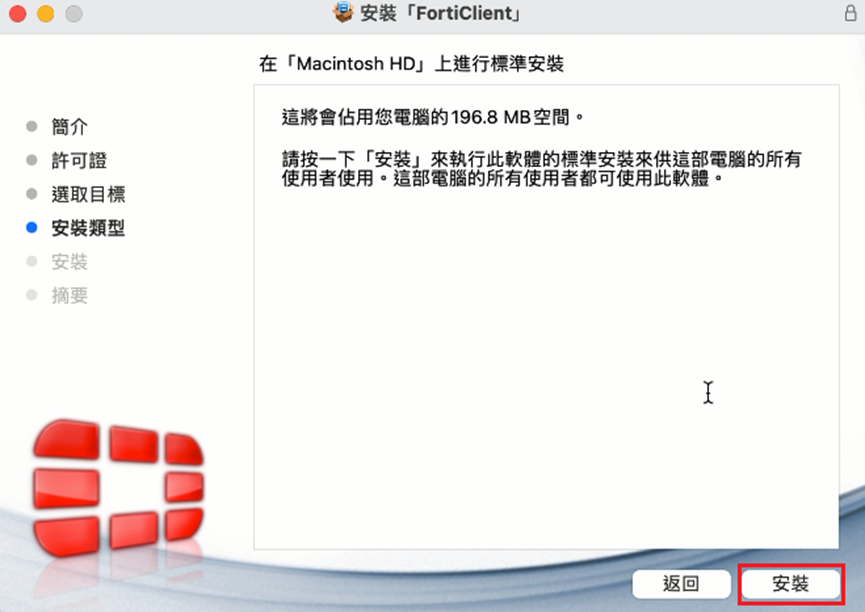
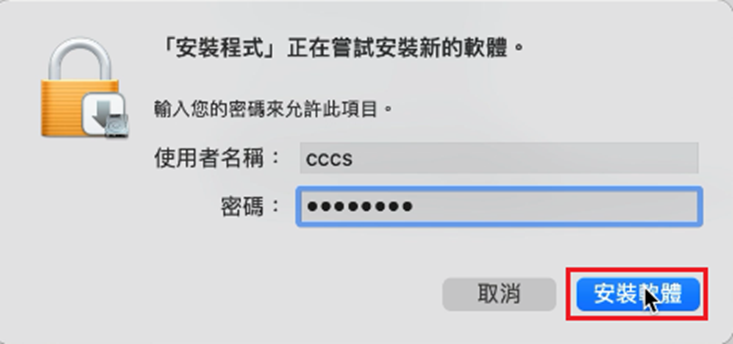
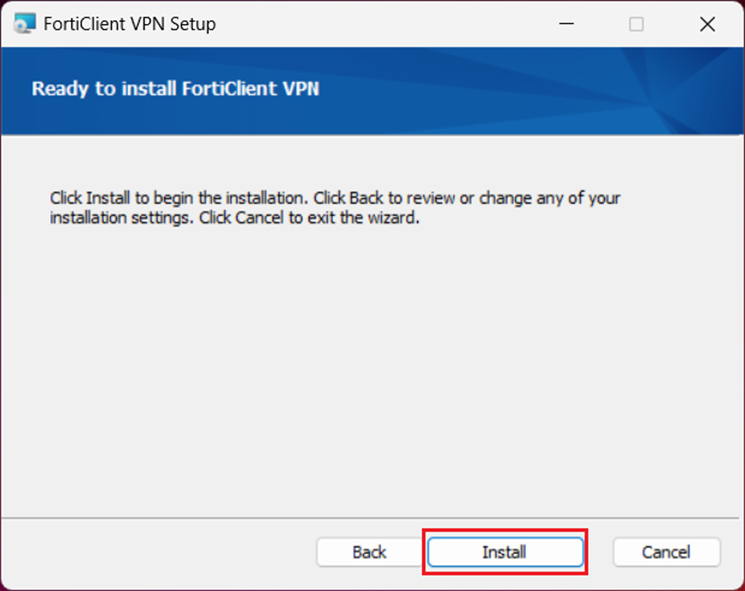
- Click [ Install ] to proceed with the installation.
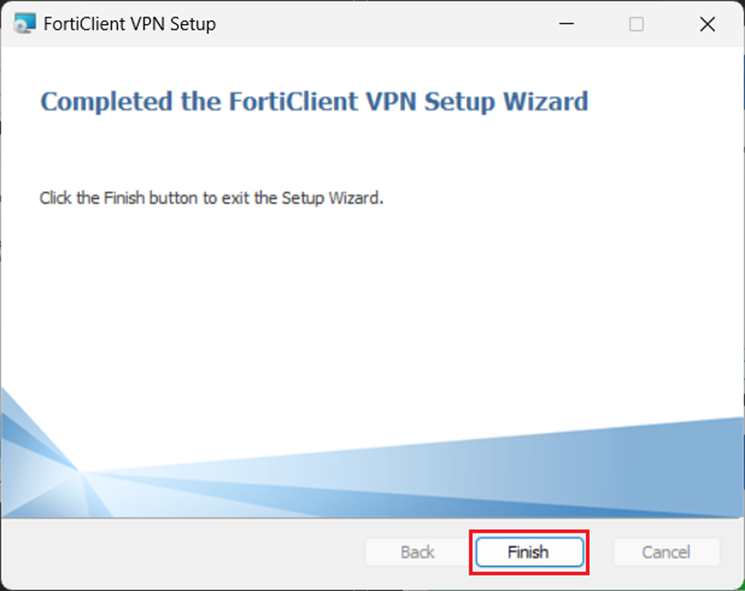
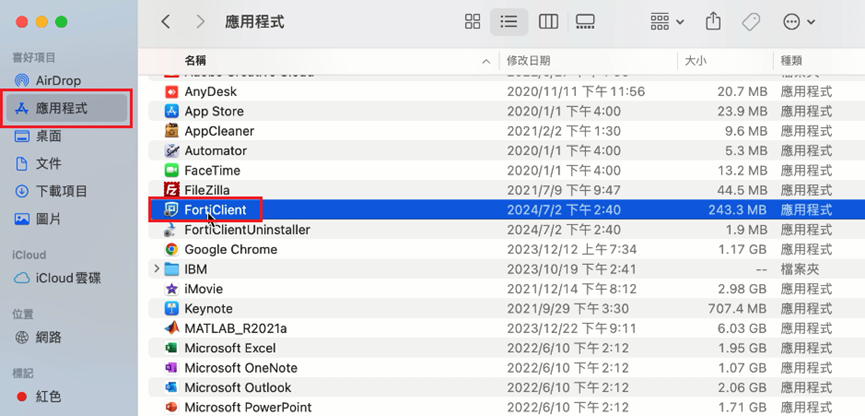
- After installation, a FortiClient VPN icon will appear on the desktop. Launch the “FortiClient VPN” program.
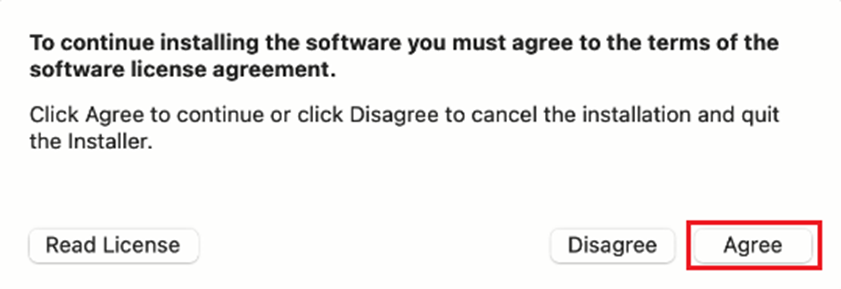
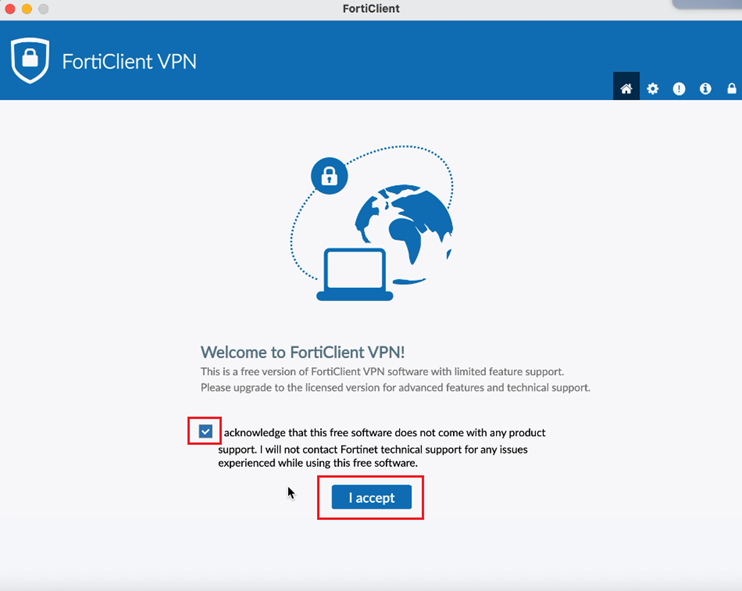
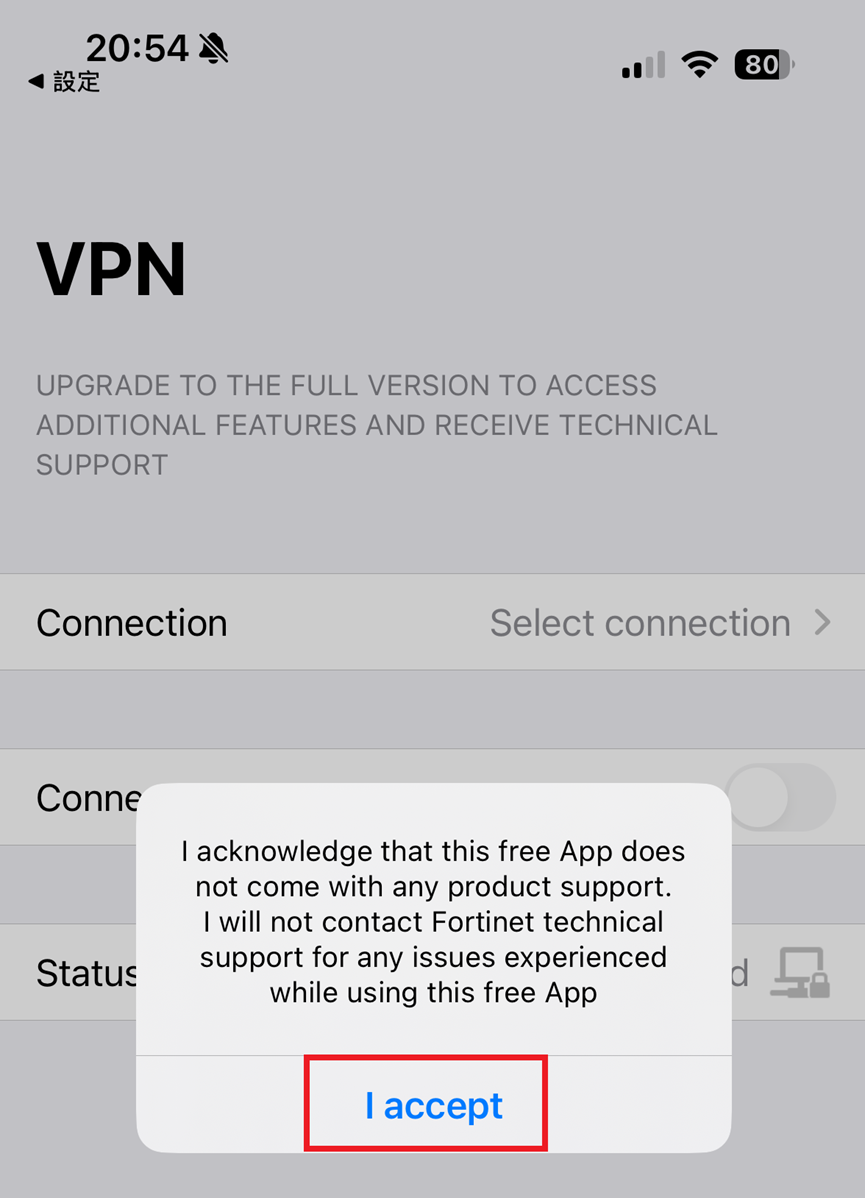
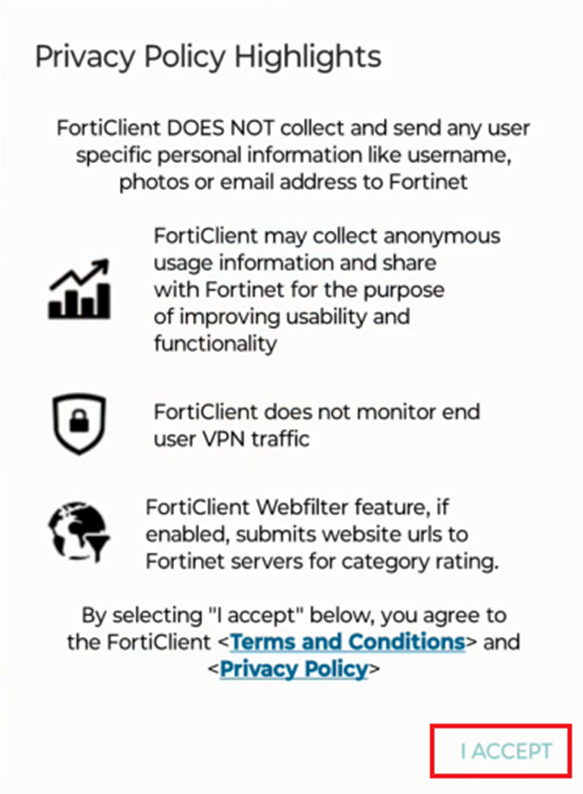
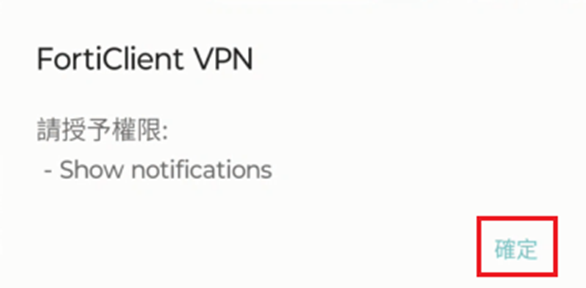
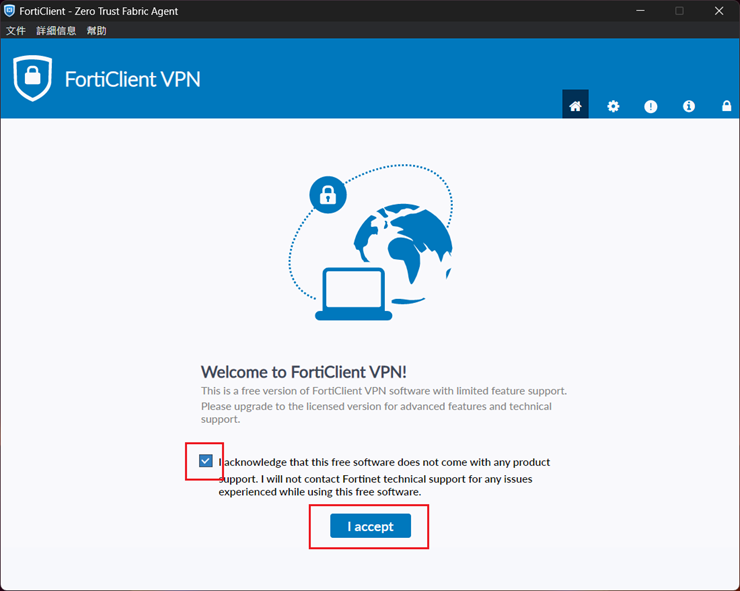
- Check "I acknowledge that this..." and click [ I accept ].
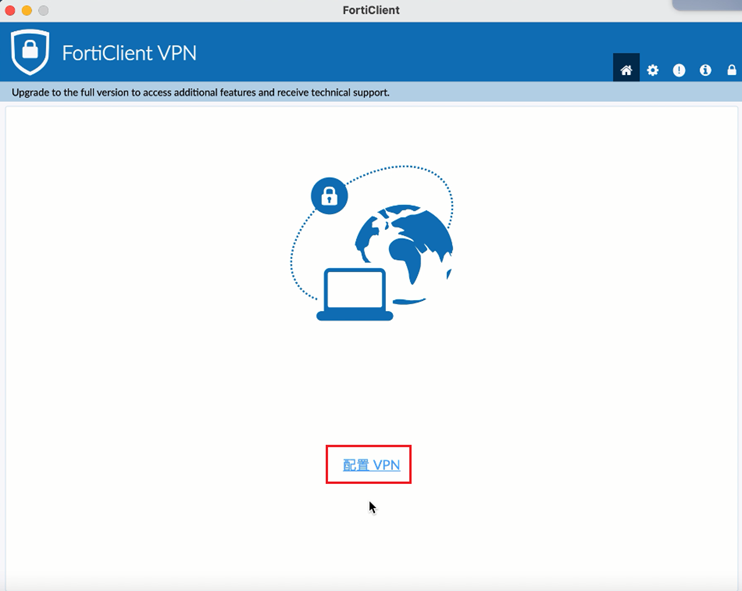
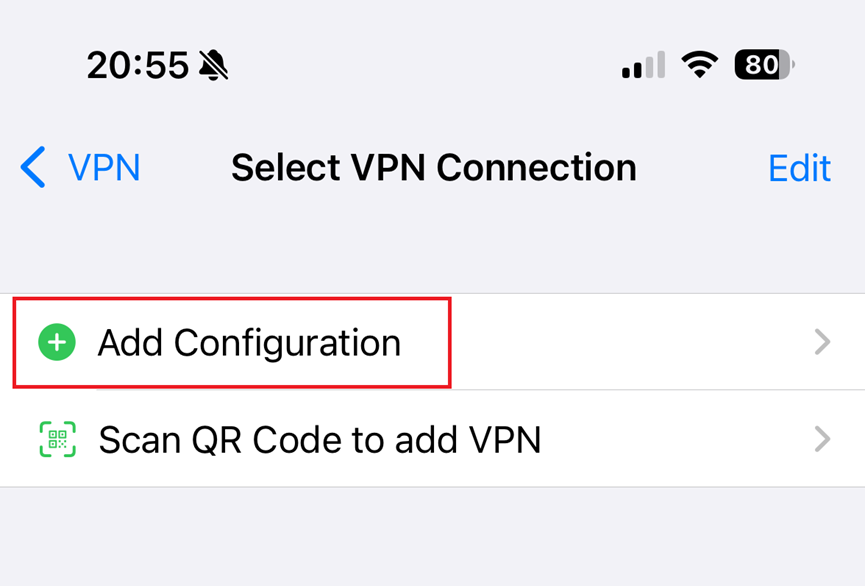
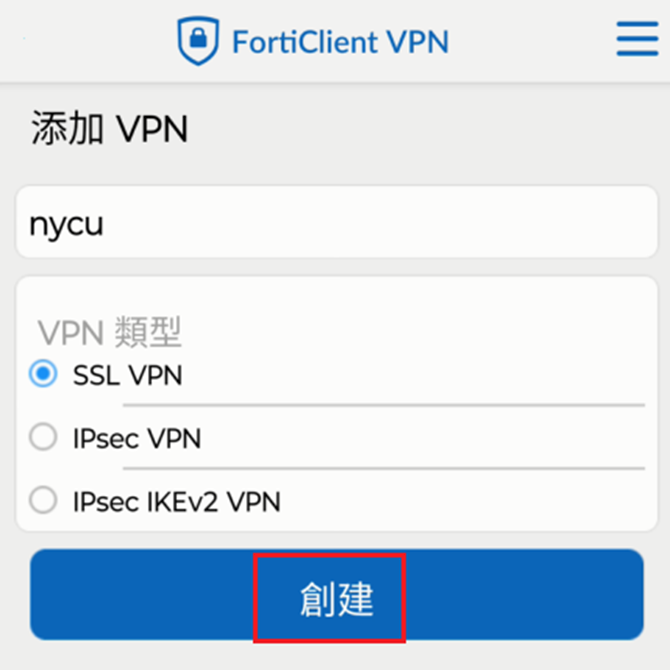
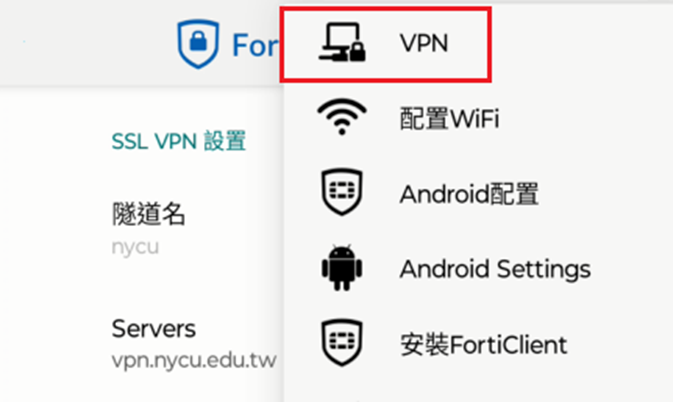
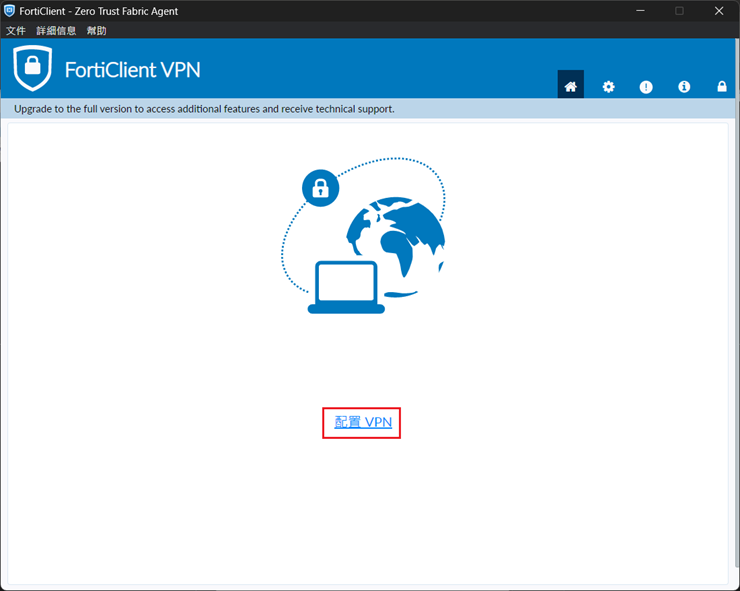
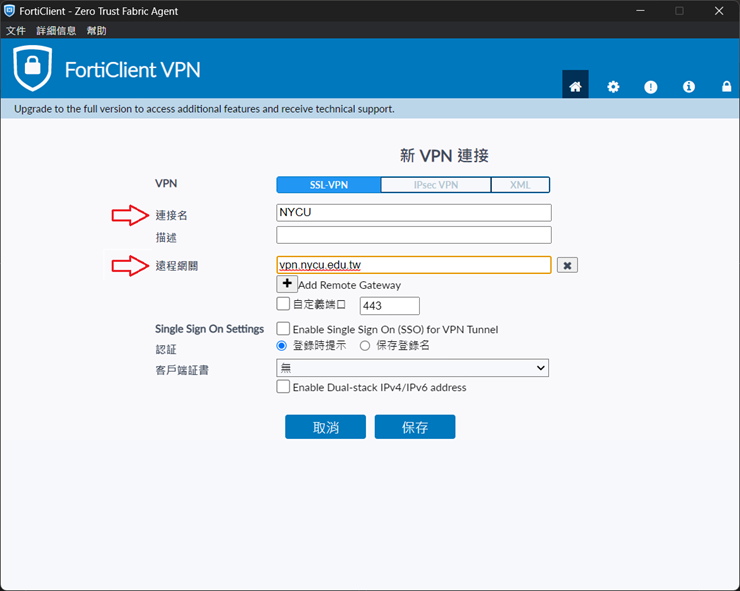
- Click [Configure VPN].
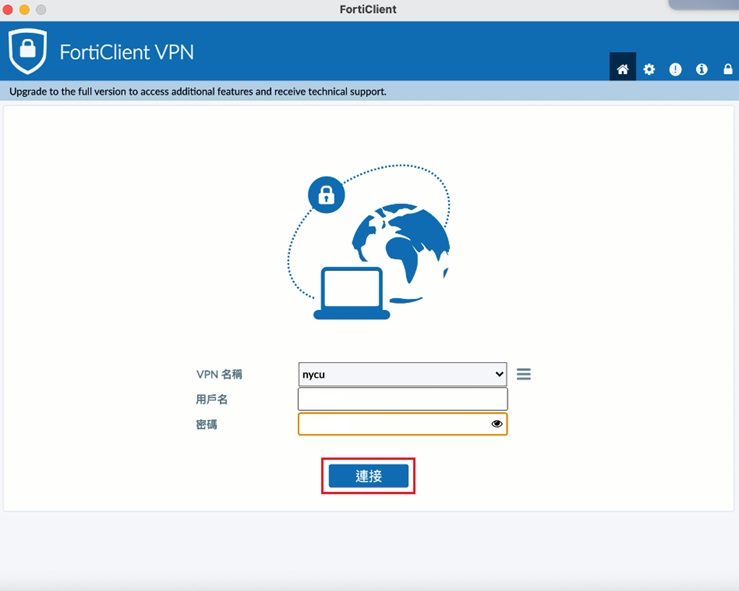
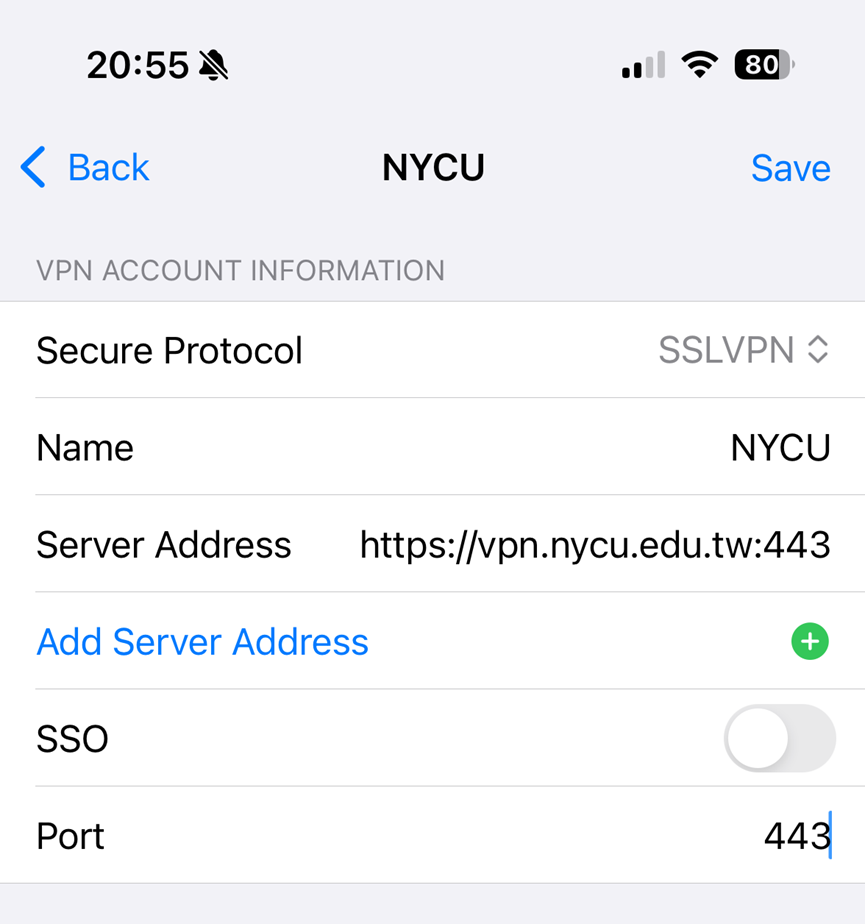
- Enter
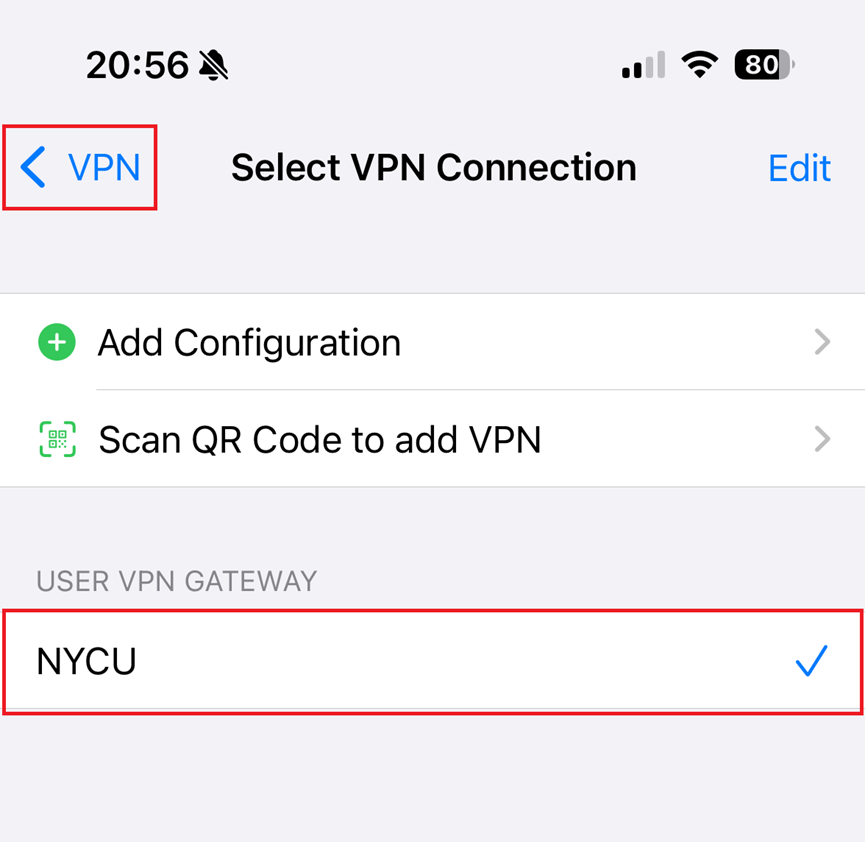
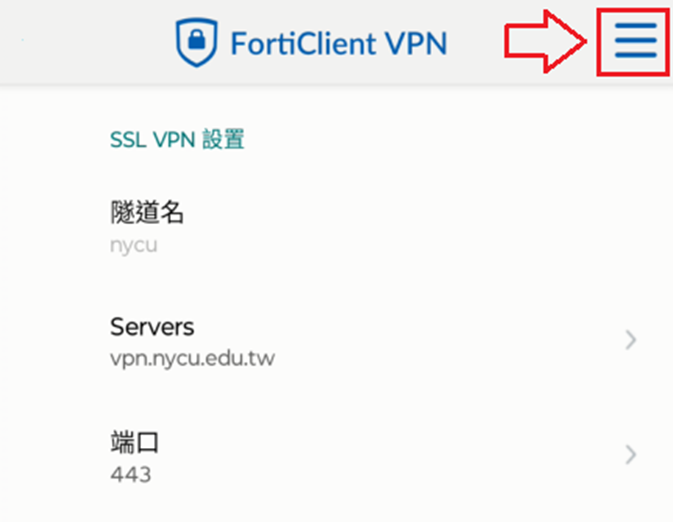
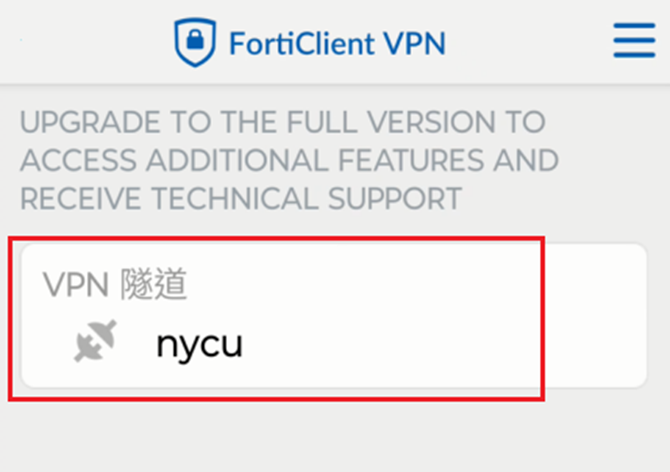
- Connection Name:NYCU
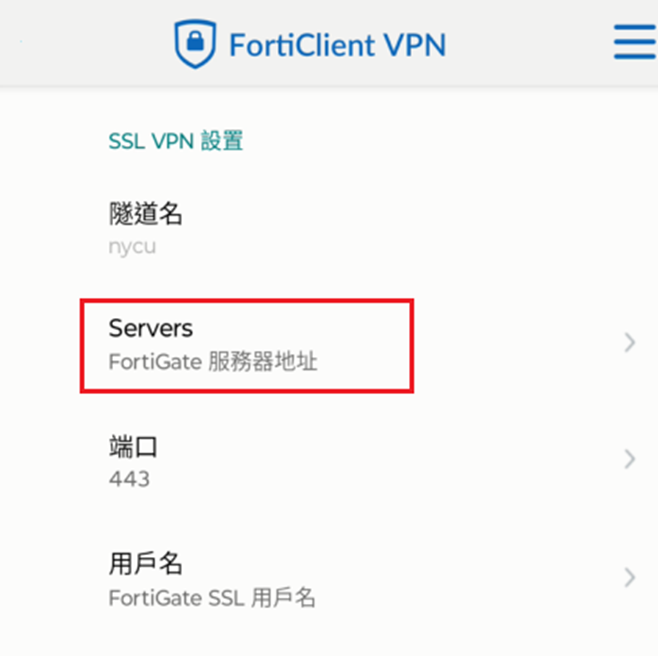
- Remote Gateway:vpn.nycu.edu.tw
- After entering, click [ Save ].
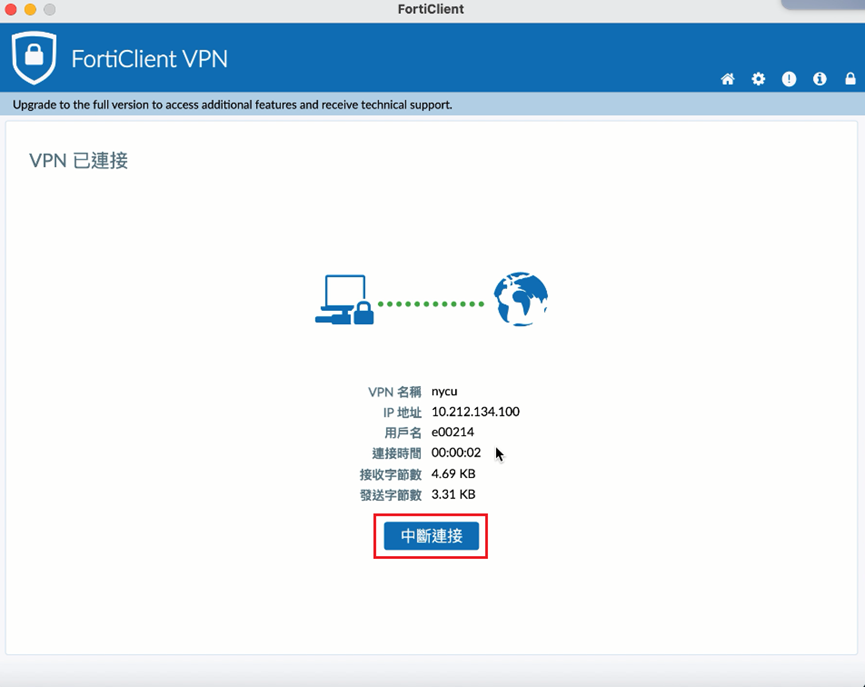
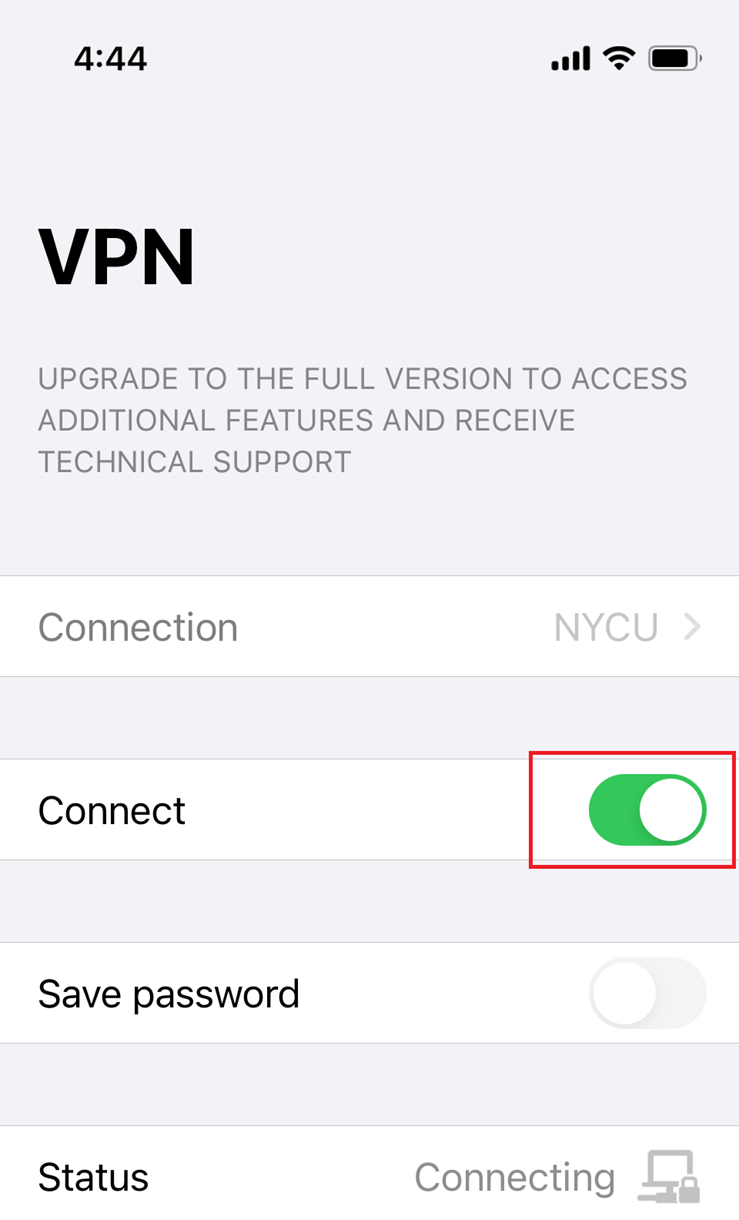
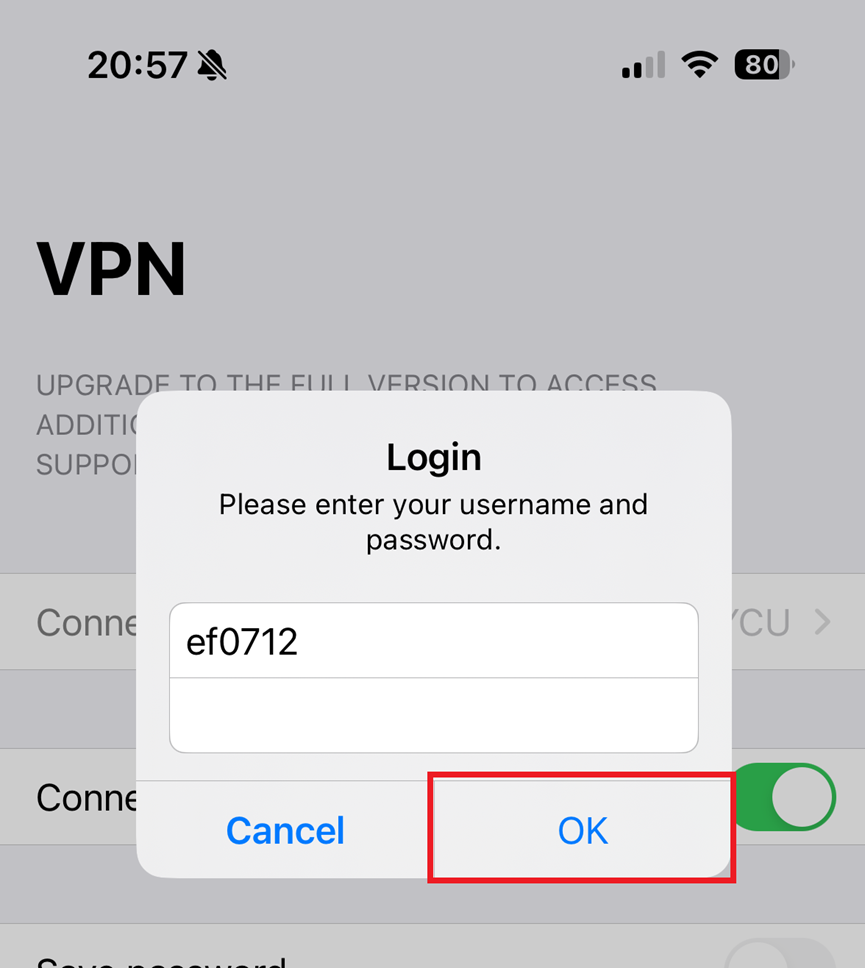
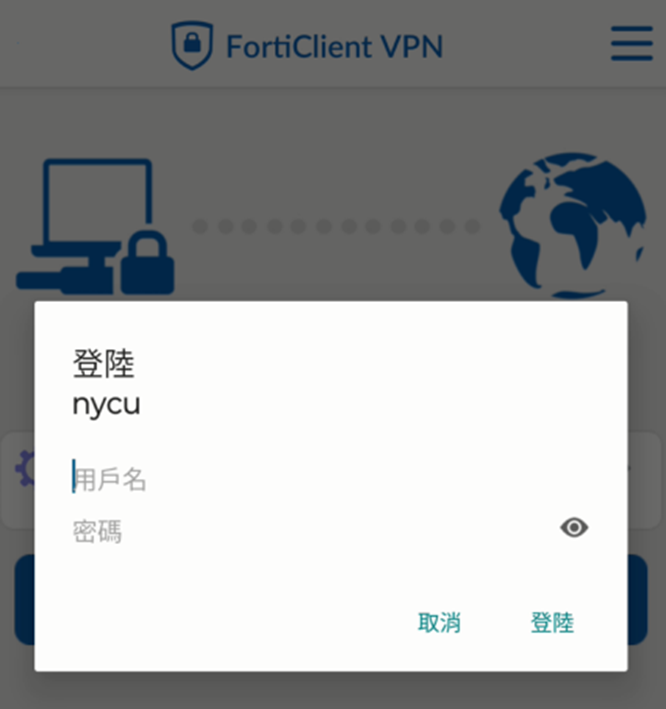
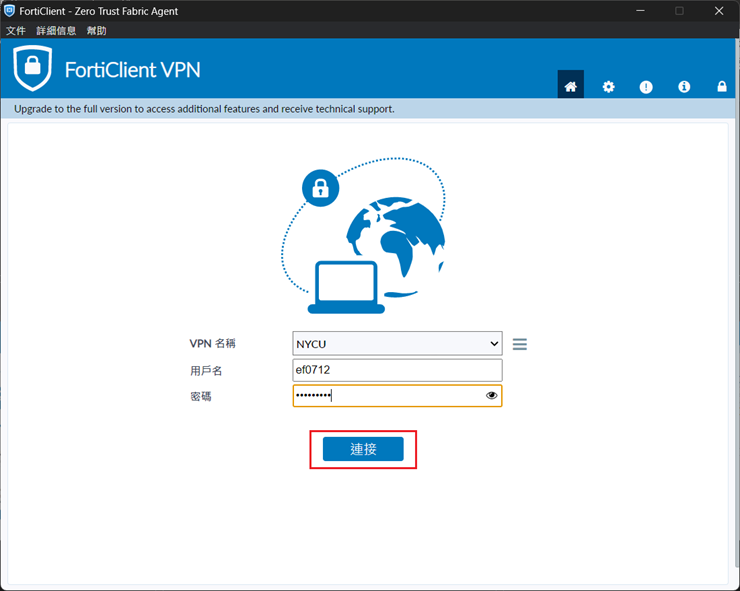
- In the login screen, enter your NYCU single sign-on account and password, then click [ Connect ].
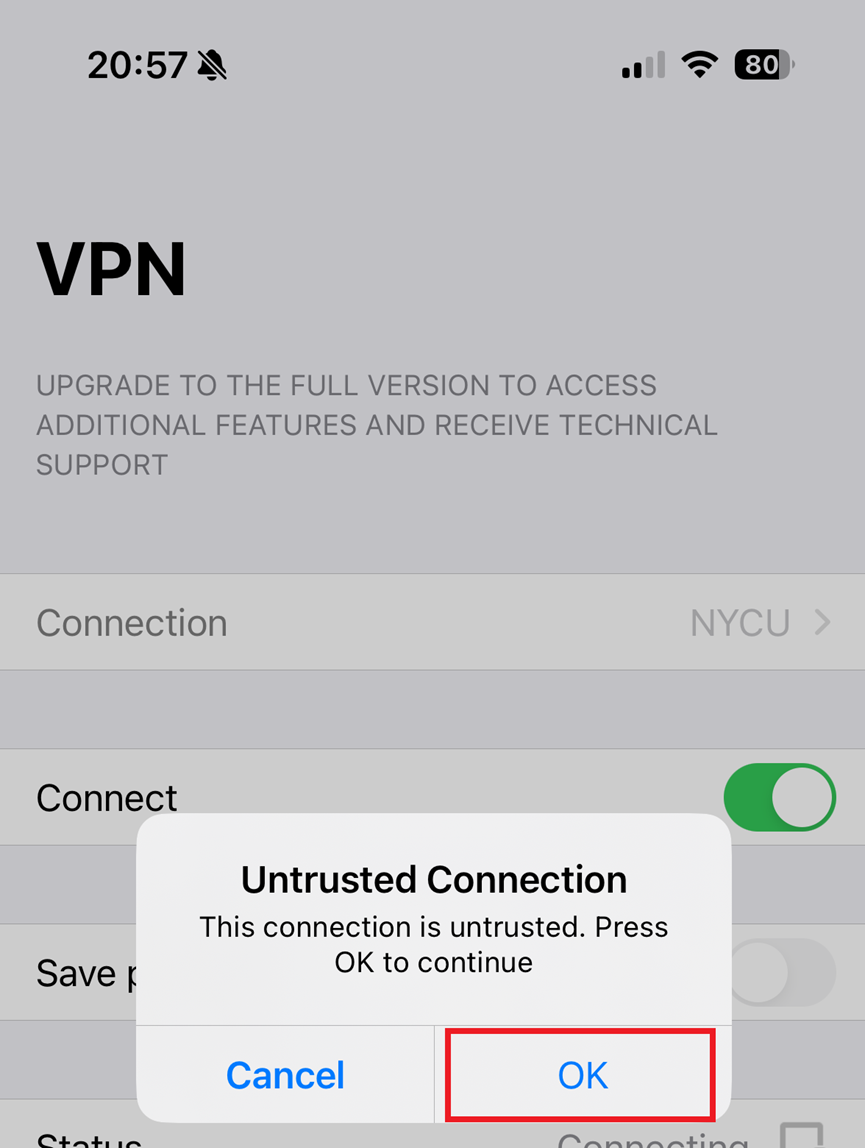
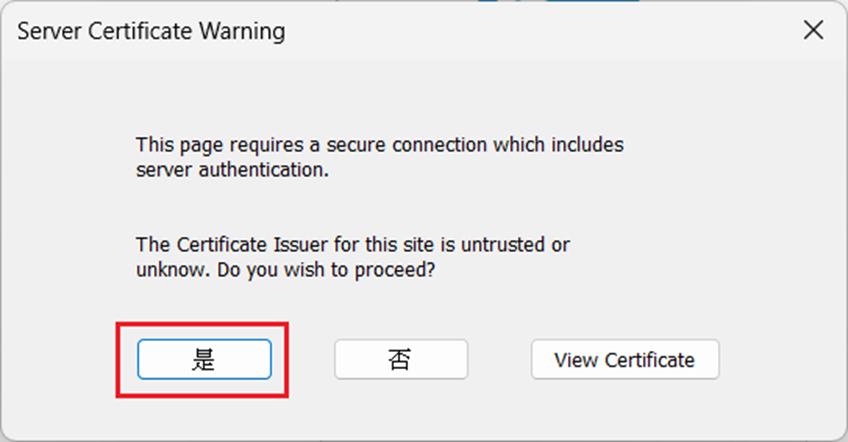
- For the Server Certificate Warning, click [ Yes ].
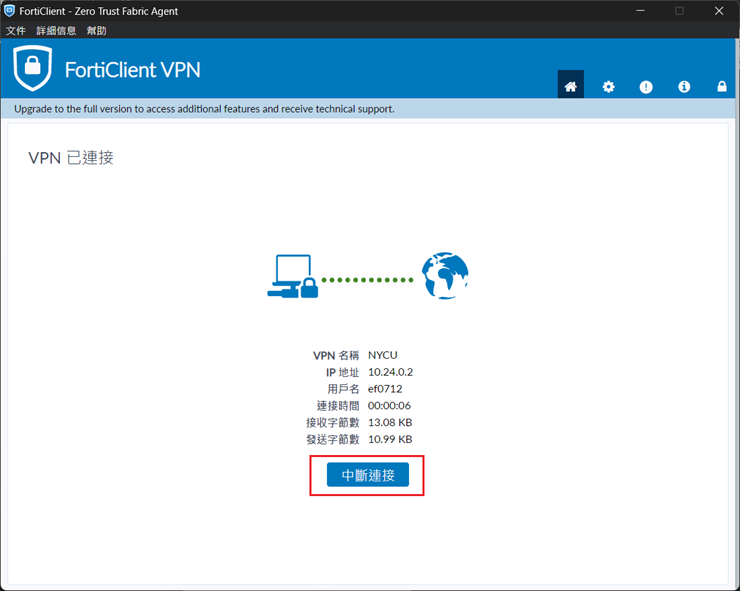
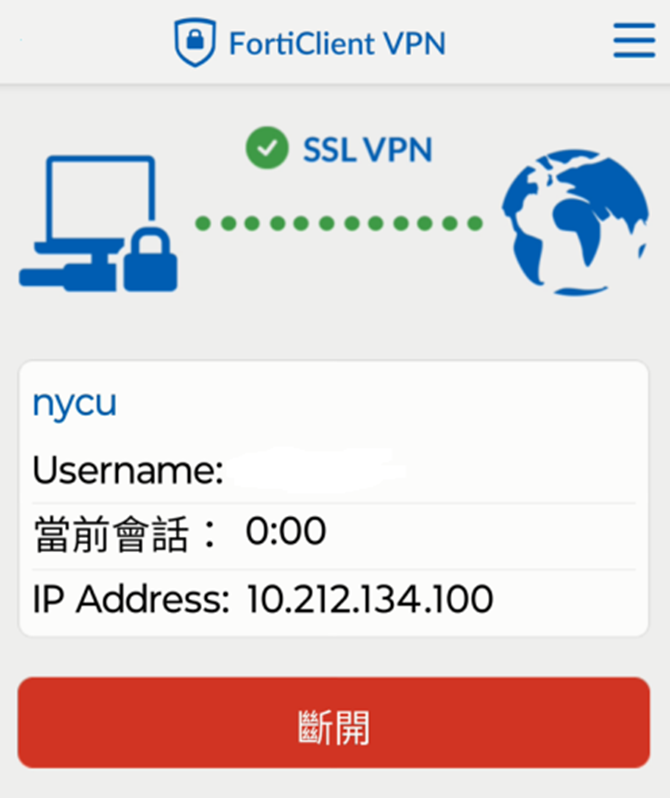
- To disconnect from FortiClient VPN, click [ Disconnect ].